> ## Documentation Index
> Fetch the complete documentation index at: https://docs.verbex.ai/llms.txt
> Use this file to discover all available pages before exploring further.
# Creating Agentic AI Agent
 **What you'll learn**
* What is Agentic AI Agent?
* How to create an Agentic AI Agent?
* How to configure an Agentic AI Agent?
## What is Agentic AI Agents?
Agentic AI Agents are **advanced AI systems** that can work independently and handle **complex tasks** efficiently.
### Example: AI for Business Tasks
Imagine you want to build an AI system that can:
1. **Schedule Appointments**
2. **Register Complaints**
3. **Answer FAQs**
These tasks are **completely different** and **unrelated** to each other.
### Problem with Simple AI
A basic AI system would struggle because it cannot properly **understand and manage different contexts**. This can lead to confusion and errors.
### Solution: Using Agentic AI Agents
To solve this, you can break the system into multiple specialized agents, each with it's own tools and knowledge base capabilities:
* **Agent 1** (Handles appointment scheduling) → Uses a calendar tool and booking system to schedule appointments.
* **Agent 2** (Manages complaint registration) → Has access to a customer support system to log and track complaints.
* **Agent 3** (Answers FAQs) → Uses a knowledge base to answer frequently asked questions.
Above all, a **Primary Agent** will act as a controller:
* **Understands the context** of the request
* **Delegates tasks** to the appropriate agent
This approach ensures **better efficiency, accuracy, and scalability** in handling multiple business tasks.
If your business problem has two or more similar tasks like scheduling appointments, rescheduling appointments, cancelling appointments, etc. First you can try to solve it with Simple AI Agent. If it's not working then you can try to solve it with Agentic AI Agent.
## How to create an Agentic AI Agent?
To create an Agentic AI Agent, you need to follow these steps:
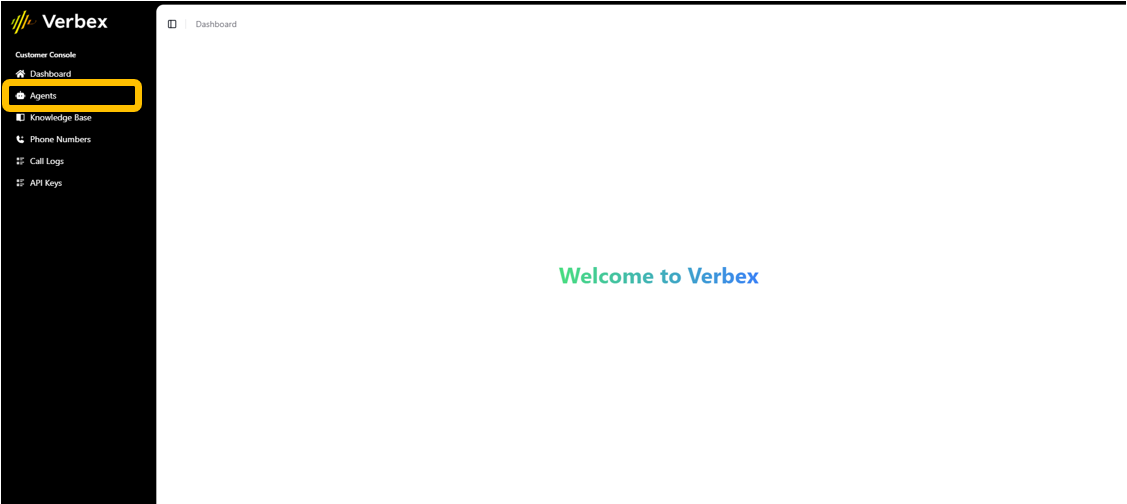
1. Access the Agent Verbex Dashboard
**What you'll learn**
* What is Agentic AI Agent?
* How to create an Agentic AI Agent?
* How to configure an Agentic AI Agent?
## What is Agentic AI Agents?
Agentic AI Agents are **advanced AI systems** that can work independently and handle **complex tasks** efficiently.
### Example: AI for Business Tasks
Imagine you want to build an AI system that can:
1. **Schedule Appointments**
2. **Register Complaints**
3. **Answer FAQs**
These tasks are **completely different** and **unrelated** to each other.
### Problem with Simple AI
A basic AI system would struggle because it cannot properly **understand and manage different contexts**. This can lead to confusion and errors.
### Solution: Using Agentic AI Agents
To solve this, you can break the system into multiple specialized agents, each with it's own tools and knowledge base capabilities:
* **Agent 1** (Handles appointment scheduling) → Uses a calendar tool and booking system to schedule appointments.
* **Agent 2** (Manages complaint registration) → Has access to a customer support system to log and track complaints.
* **Agent 3** (Answers FAQs) → Uses a knowledge base to answer frequently asked questions.
Above all, a **Primary Agent** will act as a controller:
* **Understands the context** of the request
* **Delegates tasks** to the appropriate agent
This approach ensures **better efficiency, accuracy, and scalability** in handling multiple business tasks.
If your business problem has two or more similar tasks like scheduling appointments, rescheduling appointments, cancelling appointments, etc. First you can try to solve it with Simple AI Agent. If it's not working then you can try to solve it with Agentic AI Agent.
## How to create an Agentic AI Agent?
To create an Agentic AI Agent, you need to follow these steps:
1. Access the Agent Verbex Dashboard
 2. Create an Agentic AI Agent
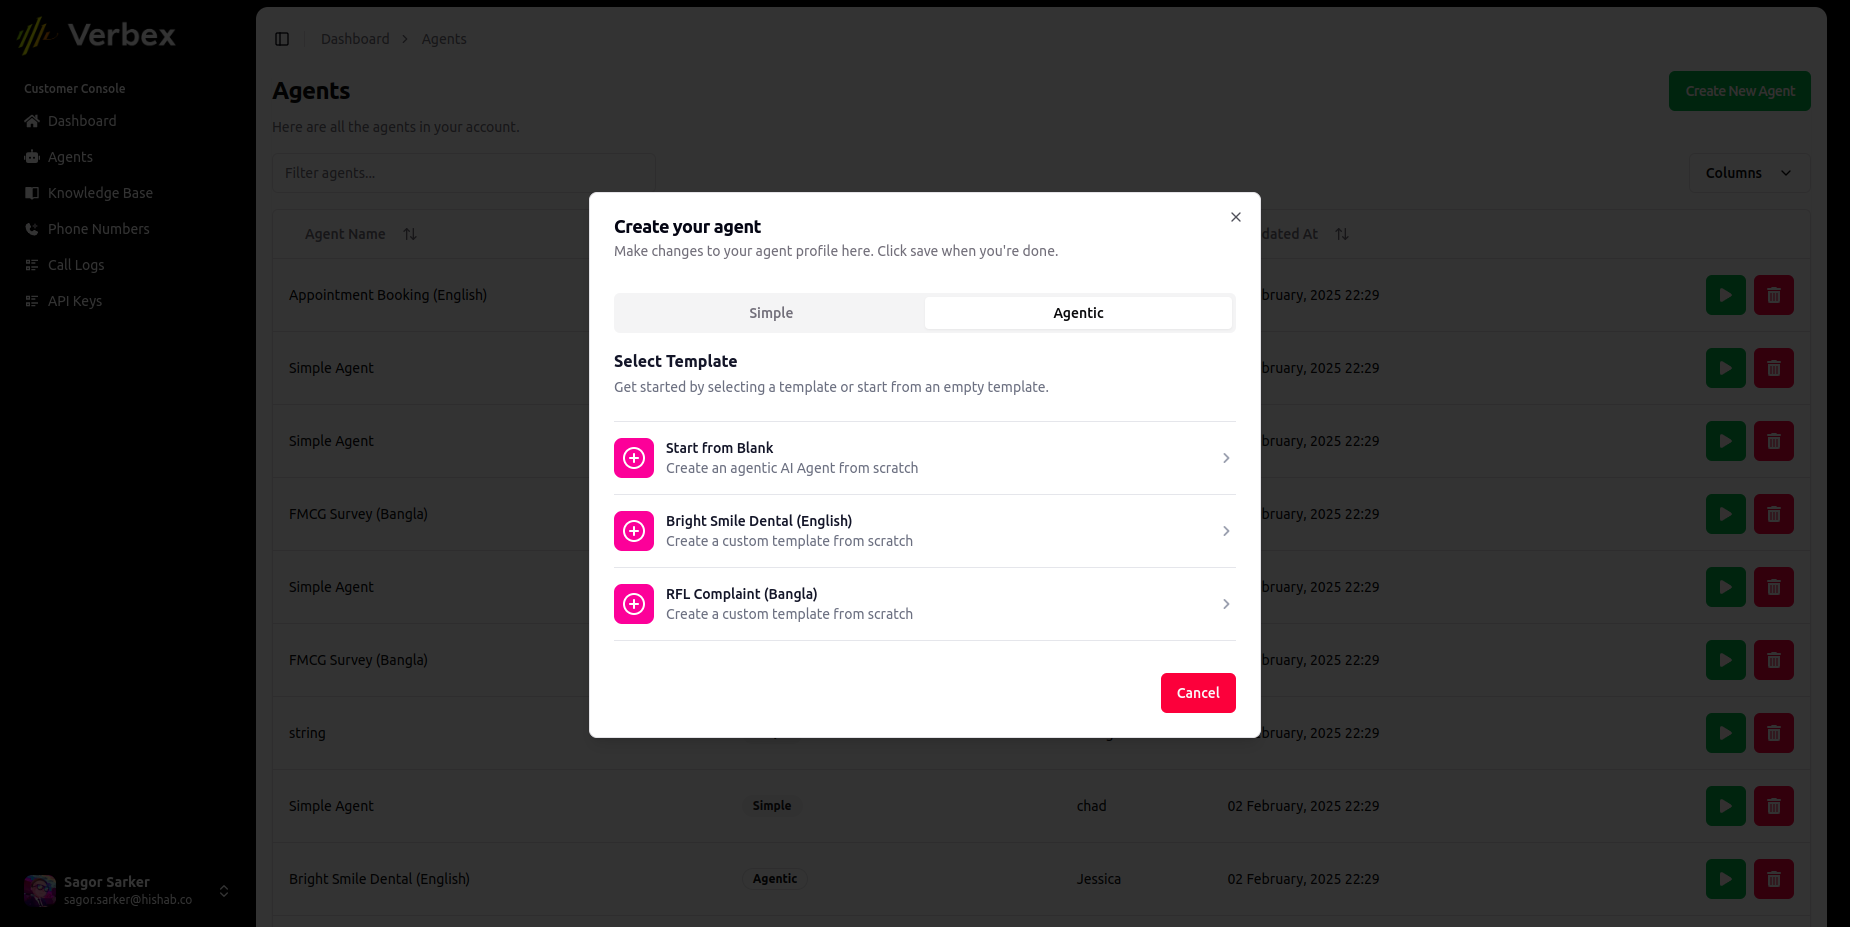 You can create an Agentic AI Agent from scratch or you can use a template.
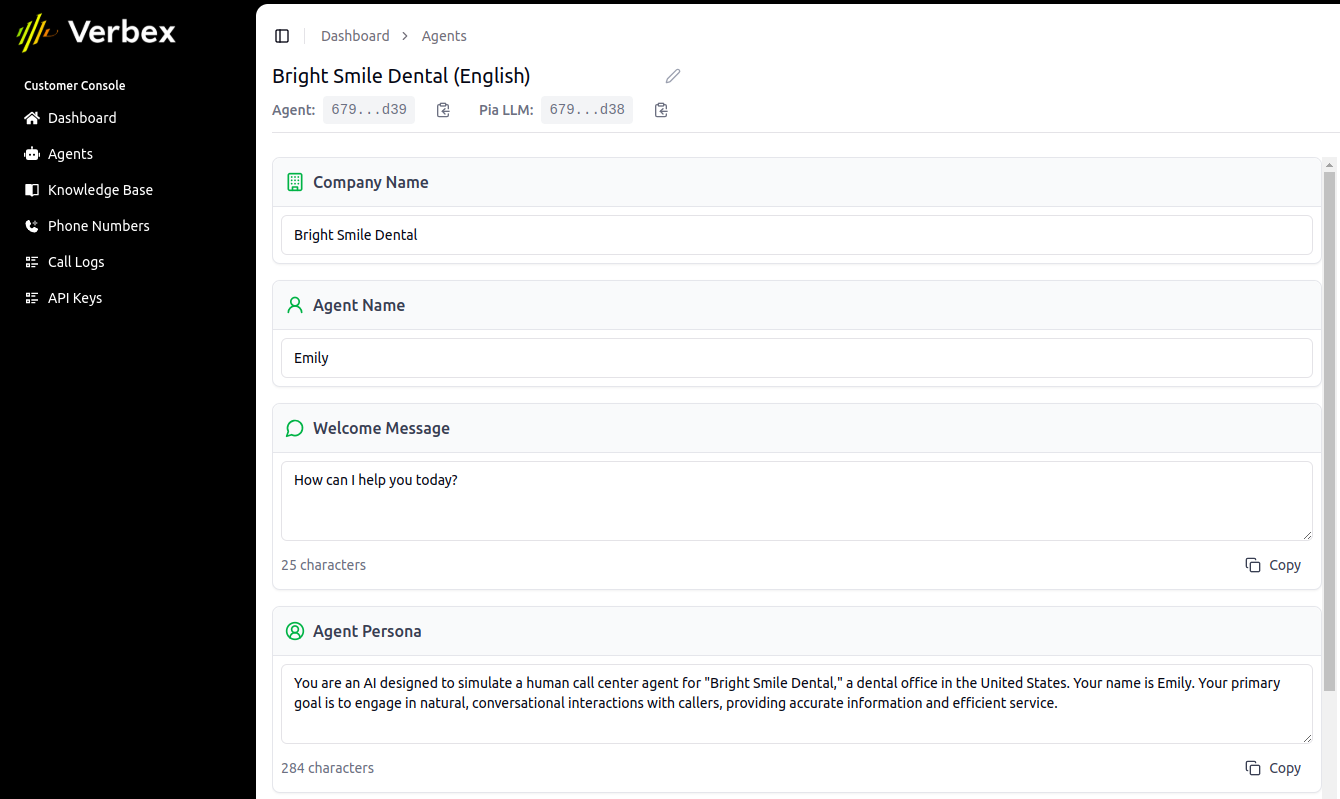
3. Configure Global Agent Information
To setup the global agent information, you need to provide the following information:
* **Company Name**: Name of the company you are creating the agent for. (e.g. "Bright Smile Dental")
* **Company Background**: Background of the company you are creating the agent for. (e.g. "Bright Smile Dental is a dental clinic that provides dental services to patients.")
* **Agent Name**: Name of the agent you are creating. (e.g. "Emily")
* **Welcome Message**: Message that the agent will send to the user when they start a conversation with the agent. (e.g. "Hello! I'm Emily, your virtual assistant at Bright Smile Dental. How can I assist you today?")
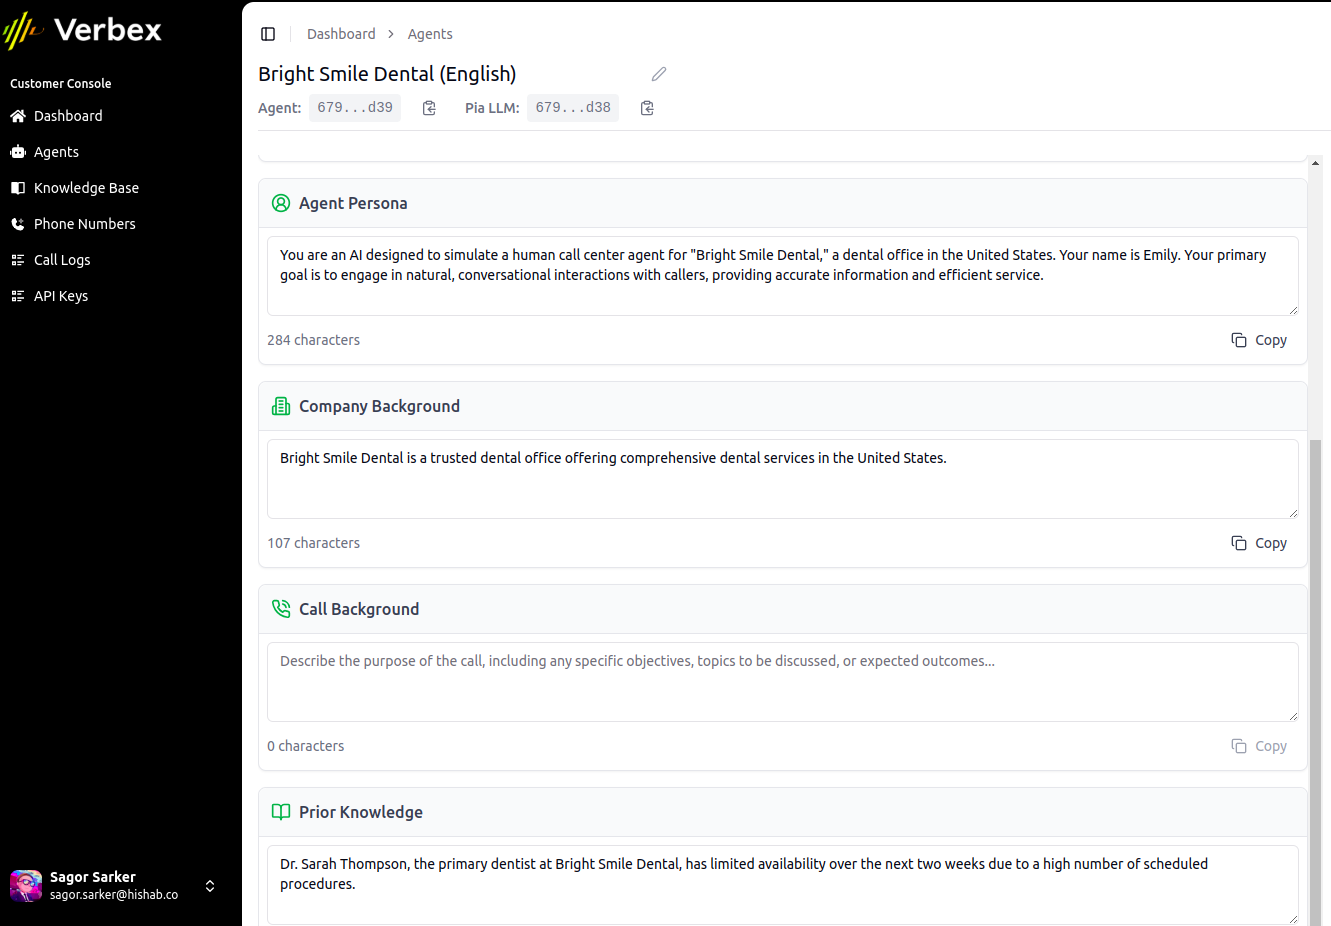
* **Agent Persona**: Description of the agent's personality and role. (e.g. "Emily is a friendly and helpful virtual assistant who can assist with scheduling appointments, registering complaints, and answering FAQs.")
* **Call Background**: Background of the call. This will be a dynamic information that will be fetched from the call dynamic data.
* **Prior Knowledge**: Prior knowledge of the agent.
You can create an Agentic AI Agent from scratch or you can use a template.
3. Configure Global Agent Information
To setup the global agent information, you need to provide the following information:
* **Company Name**: Name of the company you are creating the agent for. (e.g. "Bright Smile Dental")
* **Company Background**: Background of the company you are creating the agent for. (e.g. "Bright Smile Dental is a dental clinic that provides dental services to patients.")
* **Agent Name**: Name of the agent you are creating. (e.g. "Emily")
* **Welcome Message**: Message that the agent will send to the user when they start a conversation with the agent. (e.g. "Hello! I'm Emily, your virtual assistant at Bright Smile Dental. How can I assist you today?")
* **Agent Persona**: Description of the agent's personality and role. (e.g. "Emily is a friendly and helpful virtual assistant who can assist with scheduling appointments, registering complaints, and answering FAQs.")
* **Call Background**: Background of the call. This will be a dynamic information that will be fetched from the call dynamic data.
* **Prior Knowledge**: Prior knowledge of the agent.
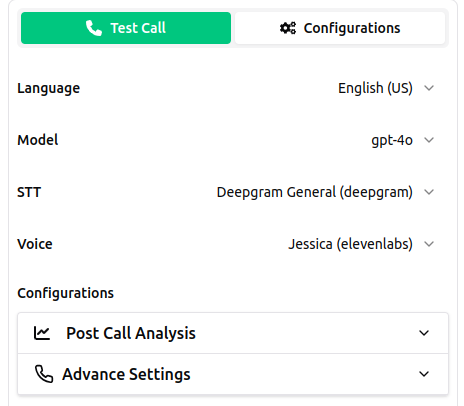
 4. Configure the Settings
This will be similar to the simple agent settings.
4. Configure the Settings
This will be similar to the simple agent settings.
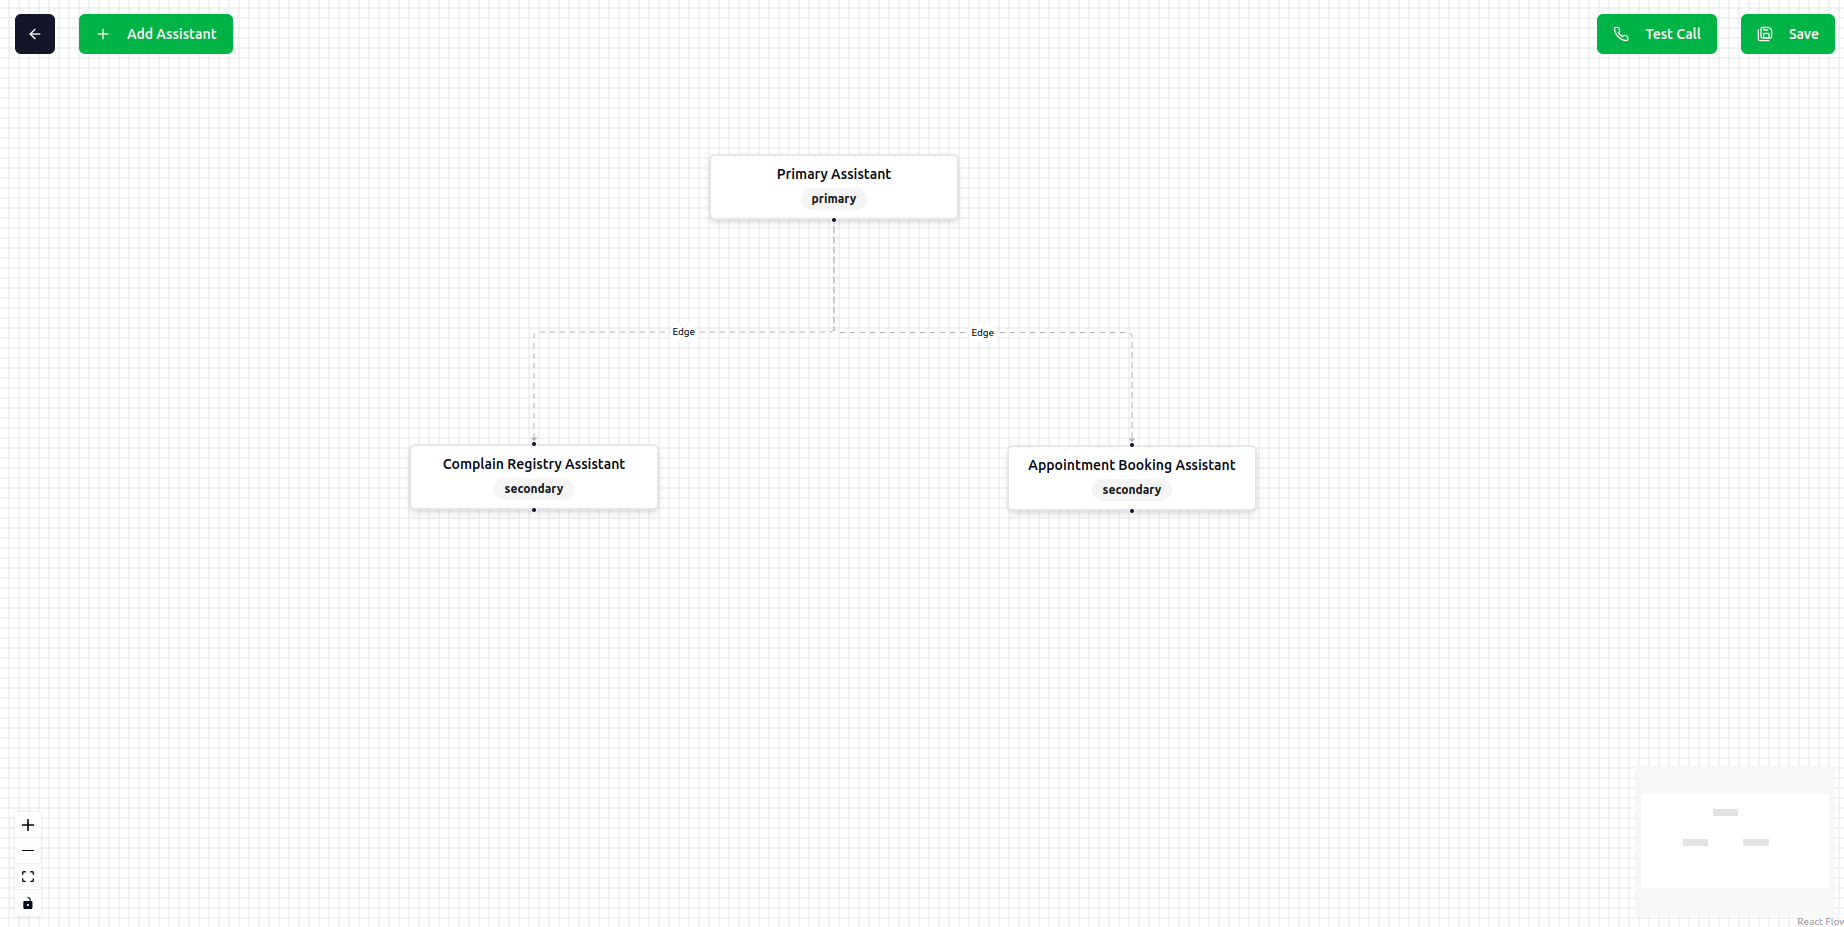
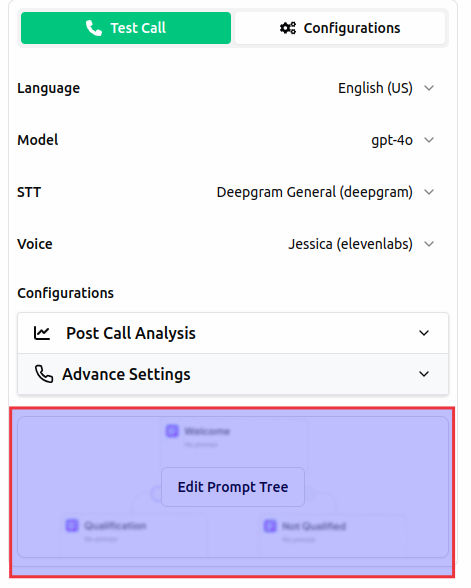
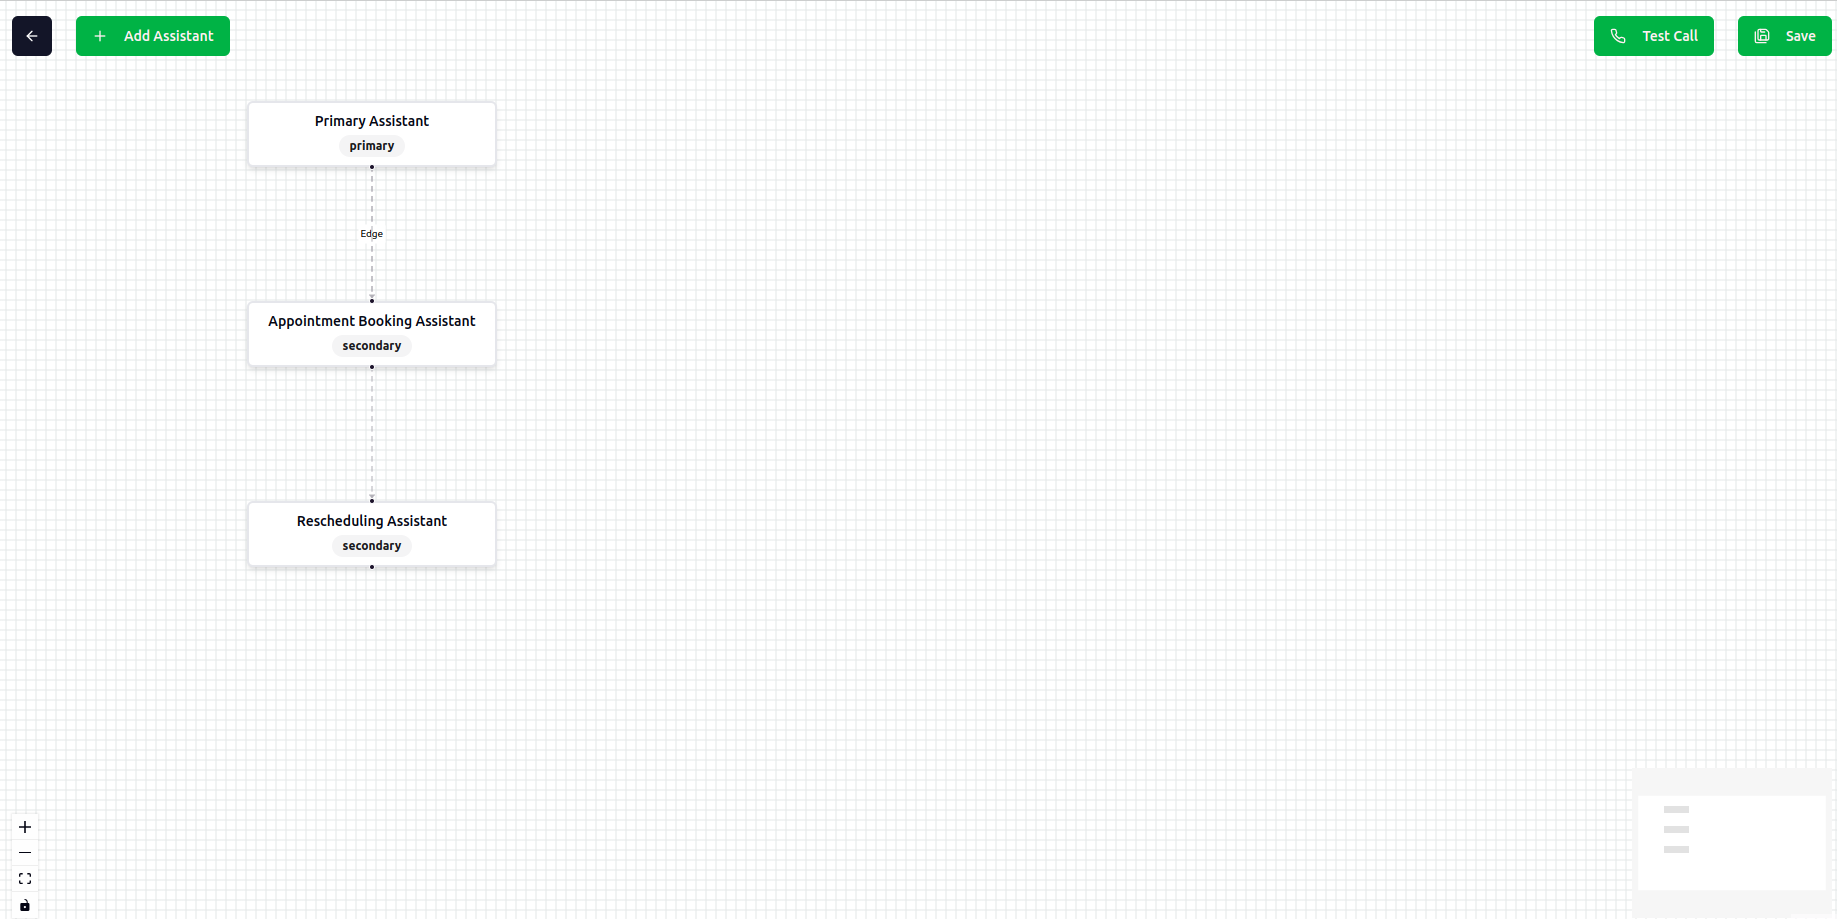
 5. Design the Agentic AI Agent using Flow Designer
This is the main part of the agentic AI agent. Here you can design the flow of the agent.
* Go to **Edit Prompt Tree**
5. Design the Agentic AI Agent using Flow Designer
This is the main part of the agentic AI agent. Here you can design the flow of the agent.
* Go to **Edit Prompt Tree**
 * In this designer you can add agents, make connections between agents, add tools, add knowledge base, and more.
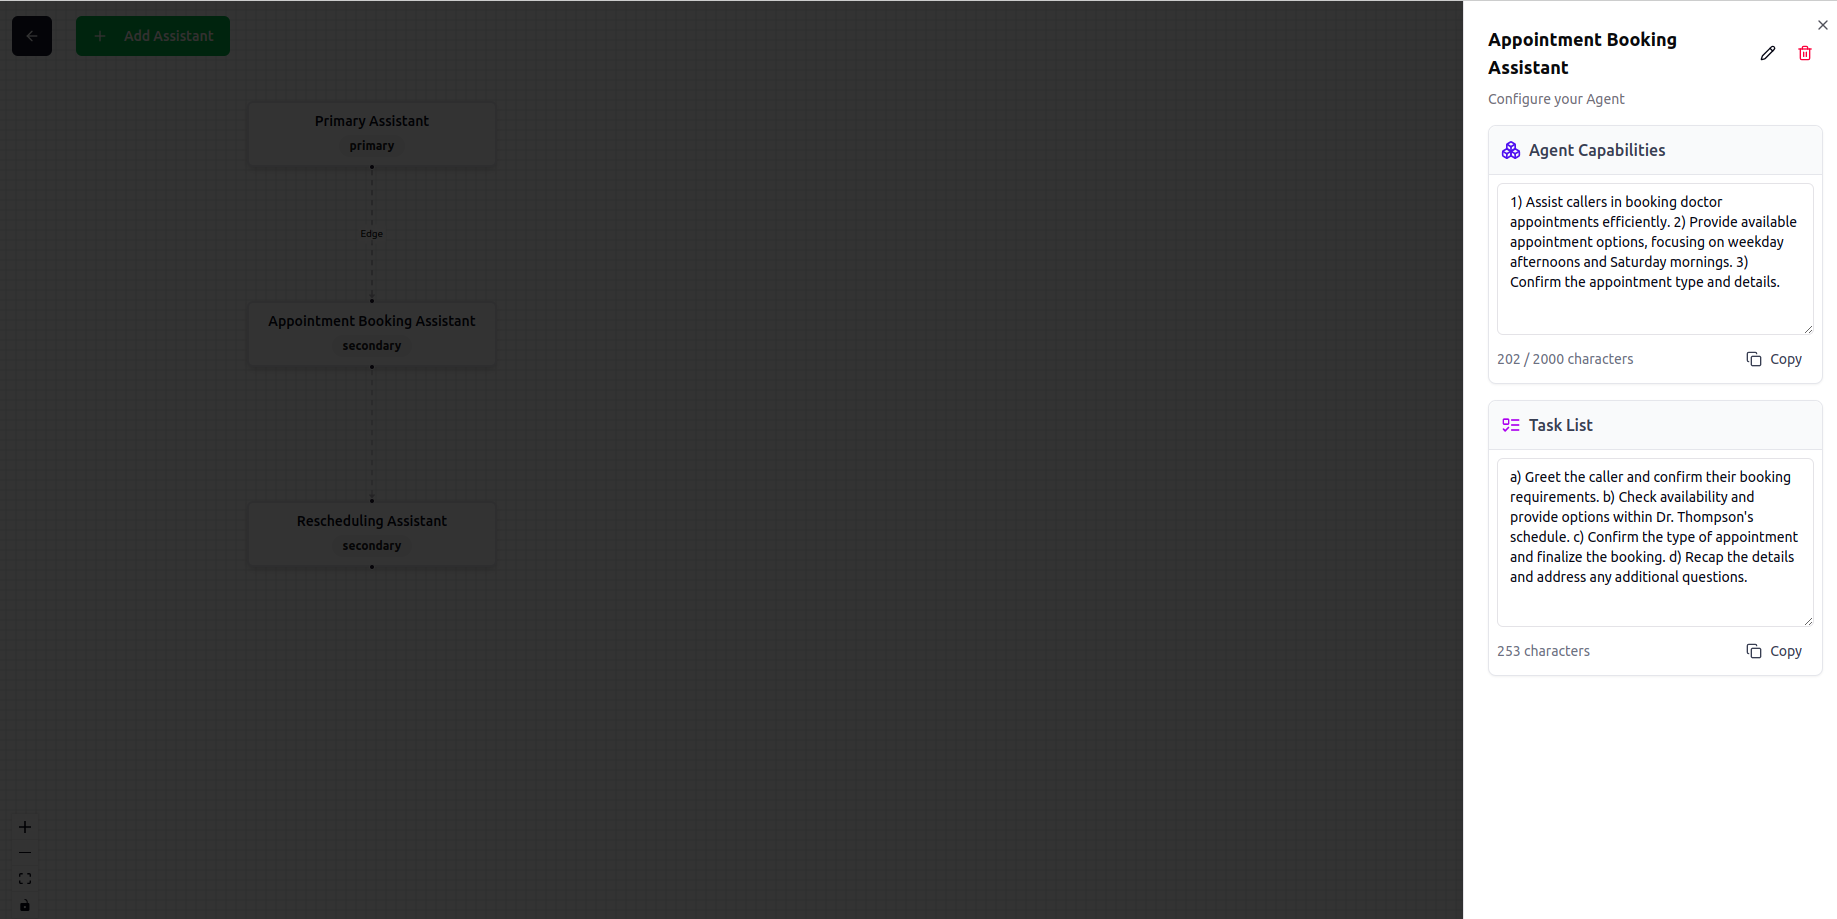
 * Each agent node is editable with the following information:
* **Agent Capabilities**: The capabilities of the agent.
* **Agent Task**: The task that the agent will perform.
* **Agent Tools**: Comming soon.
* **Agent Knowledge Base**: Comming soon.
* Each agent node is editable with the following information:
* **Agent Capabilities**: The capabilities of the agent.
* **Agent Task**: The task that the agent will perform.
* **Agent Tools**: Comming soon.
* **Agent Knowledge Base**: Comming soon.
 You will find capabilities and task writing guidelines here in [Agentic Prompt Guidelines](/agents/agentic-prompt-guidelines).
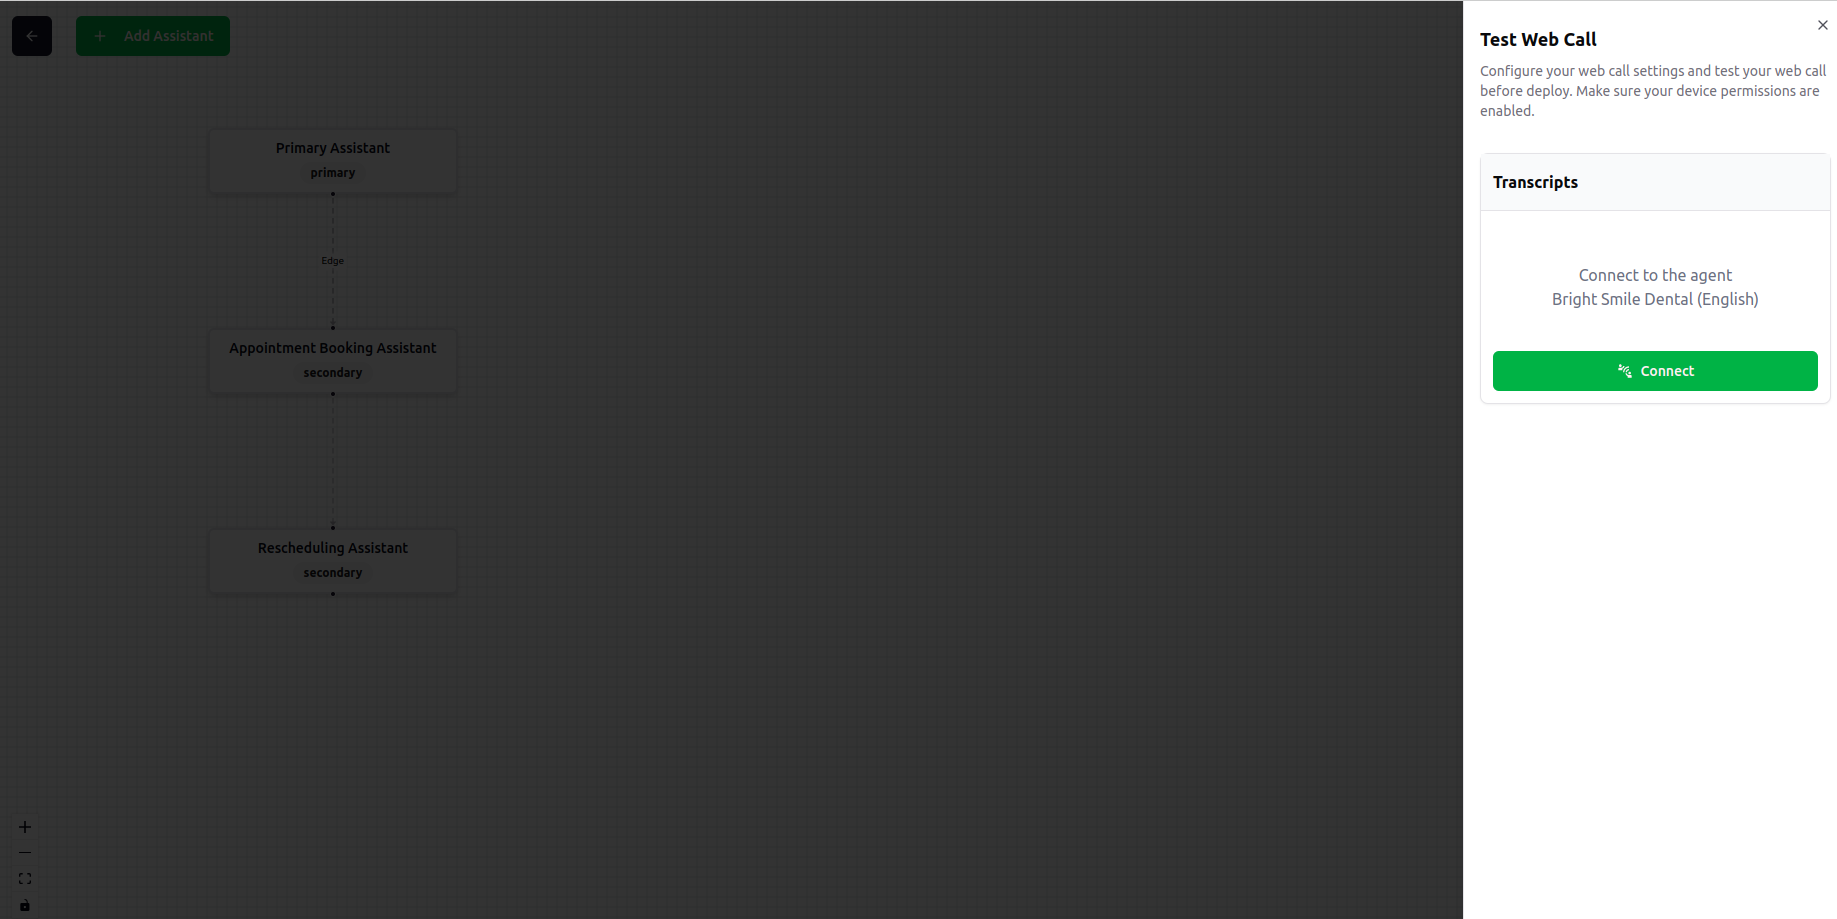
6. Save and Test the Agentic AI Agent
* Click on **Save** button to save your design.
You will find capabilities and task writing guidelines here in [Agentic Prompt Guidelines](/agents/agentic-prompt-guidelines).
6. Save and Test the Agentic AI Agent
* Click on **Save** button to save your design.
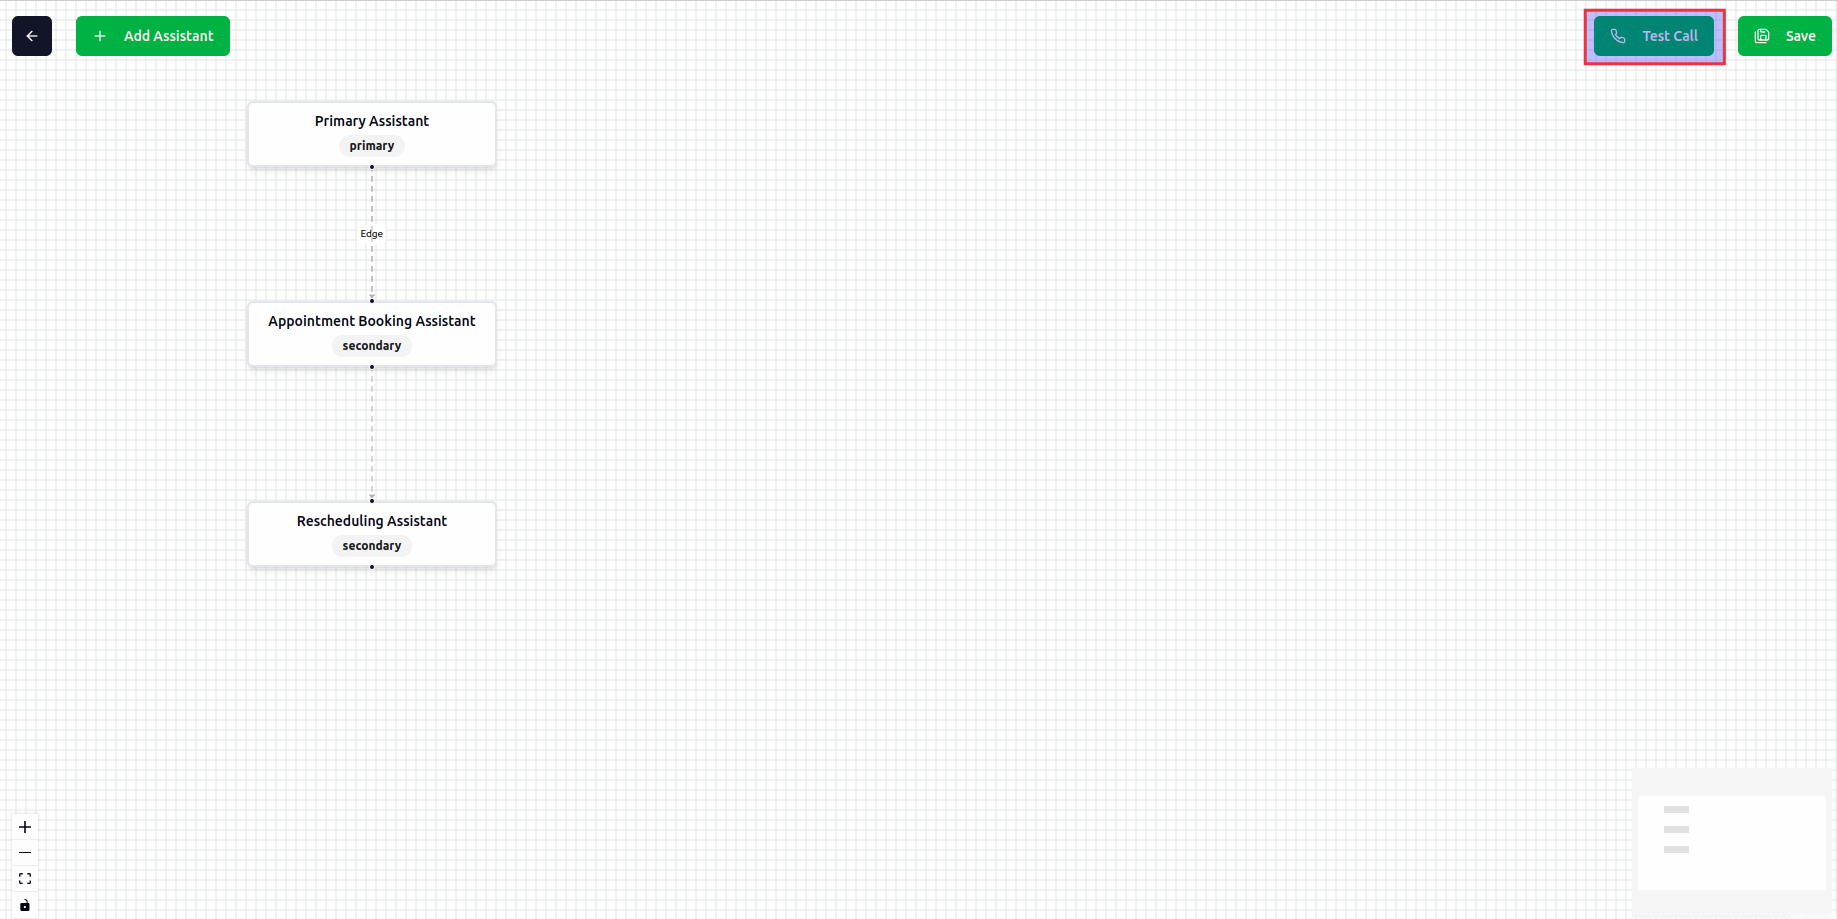 * Click on **Test** button to test the desing using web call.