

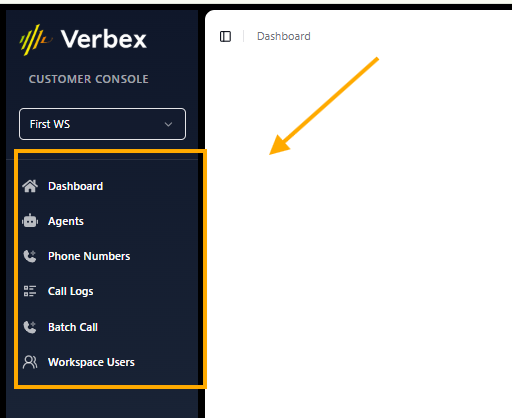
- Agents: Voice AI agents specific to the workspace
- Phone Numbers: Dedicated numbers mapped to workspace agents
- Users: Team members with defined roles and permissions
- Minutes: Allocated calling minutes for the workspace
- Knowledge Bases: Connected (not created) knowledge resources
Default Workspace
Every account starts with My Workspace, which serves as:- The owner’s personal/default workspace
- The only location where Knowledge Bases can be created
- The central hub for managing other workspaces

Workspace Isolation
Resources are strictly isolated between workspaces:- Agent and phone number lists change when switching workspaces
- Minutes are allocated per workspace
- Users have workspace-specific access
- Knowledge Bases are centrally managed but can be connected per workspace
User Roles
Owner
The workspace owner (administrator) can:- Create new workspaces
- Allocate minutes to workspaces
- Create Knowledge Bases (only in My Workspace)
- Invite members to workspaces
- Access all workspace features
Member
Workspace members (restricted users) can:- Access assigned workspaces
- Create and manage agents within the workspace
- Connect existing Knowledge Bases to agents
- Use allocated workspace minutes
- Cannot create new Knowledge Bases or workspaces
Creating a Workspace
Prerequisites: You must be a workspace owner to create new workspaces.Steps
- Navigate to My Workspace → Workspaces
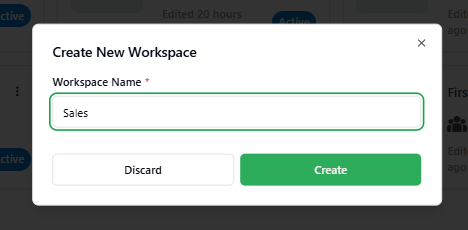
- Click Create New Workspace
- Enter a workspace name
- Click Create

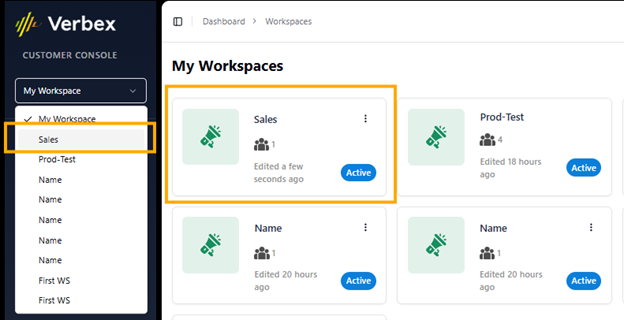
Result
- A new workspace card appears in your workspace list
- The workspace becomes available in the top navigation bar switcher
- The workspace is ready for configuration and team invitations
Managing Minutes
Allocating Minutes to a Workspace
Note: Only workspace owners can allocate minutes.- Switch to the target workspace using the top bar selector
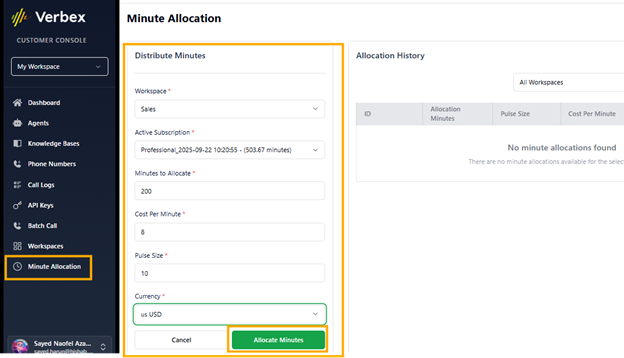
- Navigate to Minute Allocation → Distribute Minutes
- Configure the allocation:
- Select the subscription source
- Set the number of Minutes
- Define Cost per Minute
- Configure Pulse settings
- Select Currency
- Click Allocate
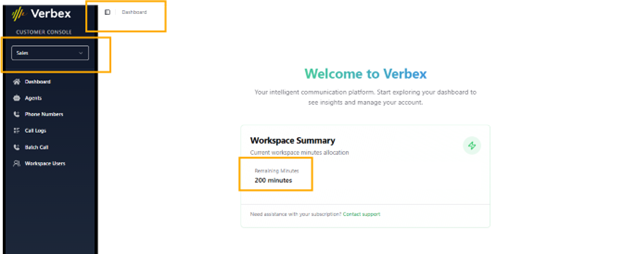
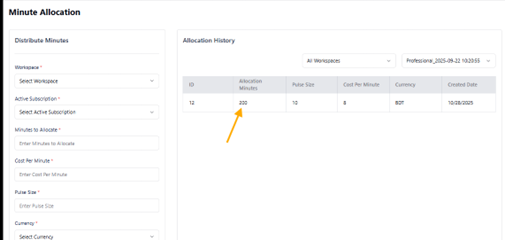
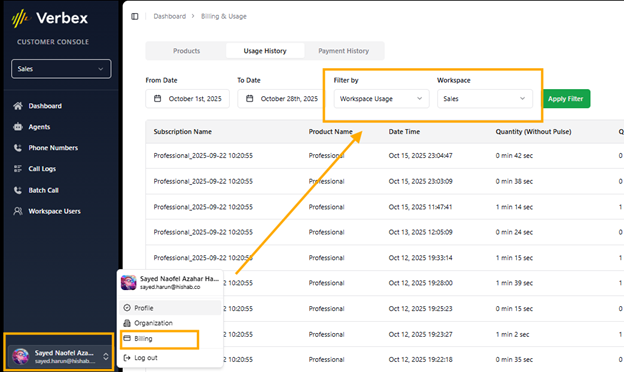
Tracking Usage
-
Remaining Minutes: Displayed in the workspace dashboard
-
Allocation History: Complete transaction log of minute distributions
-
Usage Reports: Track consumption per workspace
Team Management
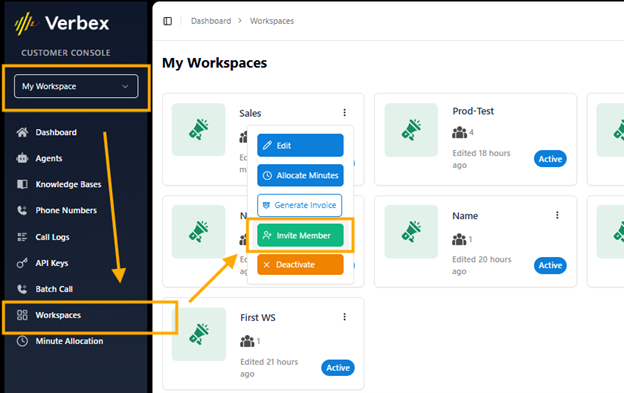
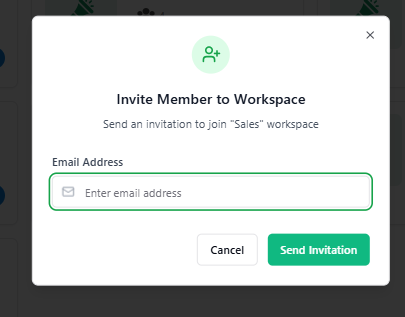
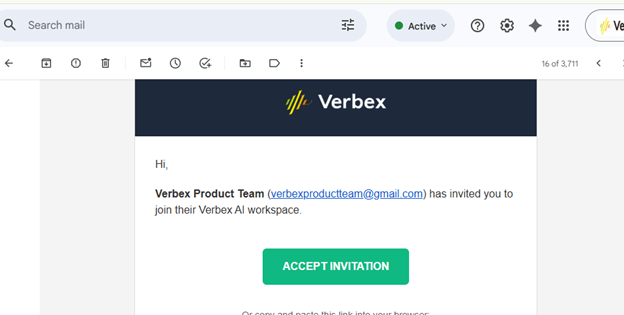
Inviting Members
- Navigate to the target workspace
- Go to Workspace Users → Invite Member
- Enter the member’s email address
- Click Send Invitation
Member Permissions
Members automatically receive:- Access to the specific workspace
- Ability to create and manage agents
- Permission to connect Knowledge Bases
- Usage rights for allocated minutes